


Convert Your Website into a Desktop Application in 30 seconds!
MacOS, Linux, Windows


Introduction 👋
I know you've been there, or not .
I certainly have; you've created something awesome using your dearest frontend-stack and you think to yourself "Hey, wouldn't this be awesome as an application?" So, you do a quick Google Search for "how to make a desktop application" and your greeted by an array of time-consuming, difficult and frankly unintuitive solutions that damped your spirits. Its' either a 60GB IDE or a 120GB SDK and your potato of a laptop is internally crying 😭. I'll stop there, you get the point.
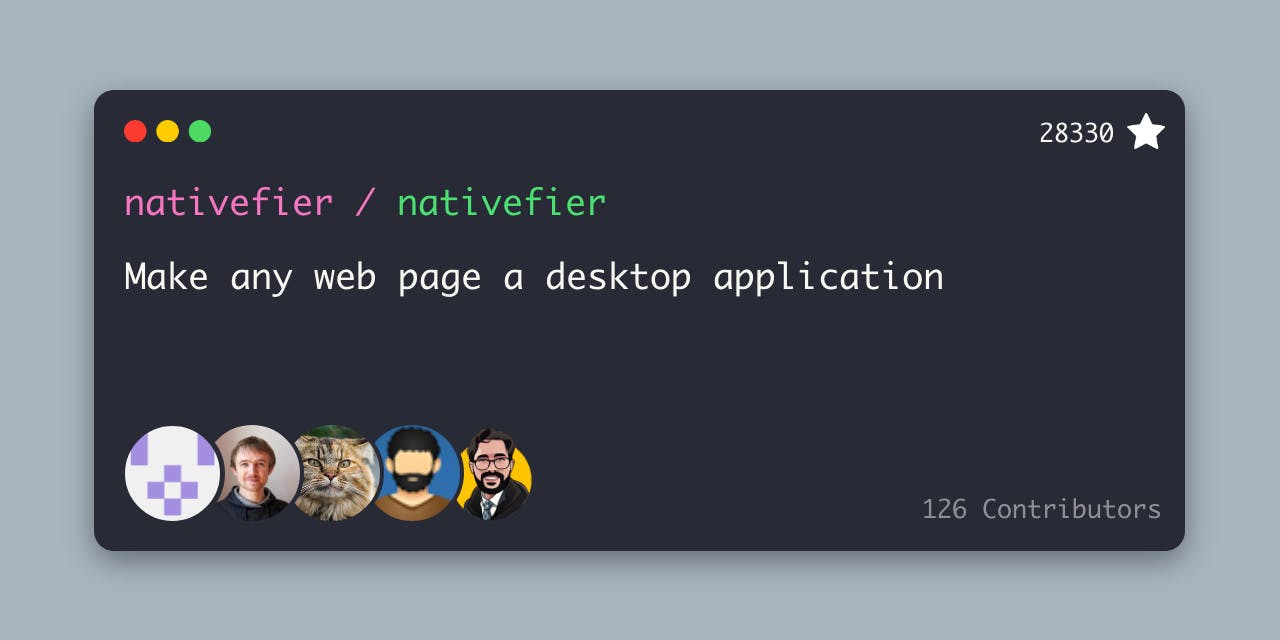
Introducing Nativefier with over 28k stars on Github built to solve your problems and quickly too providing a slick, intuitive cross-platform solution built onto of Node.
Quick Start (30 Second Solution )⌛
I'm going to assume that you already have NodeJS (>= 12.9) & NPM (>= 6.9) installed globally already but just incase here is an awesome FreeCodeCamp article that will guide you through the necessary steps.🎉
Install Natifier Globally:
npm install -g nativefierRun Command (including ""):
nativefier "yourURLHere"All done in < 30 seconds, just navigate to the output directory and open the application !
Click Image To See Recorded Terminal for live step-by-step

The final result
I've also tried with: medium.com, web.whatsapp.com, hashnode.com and more...
More Detail 🆕
By this time you have successfully converted any URL into a website so I'll discuss more about the tool and how it works:
Nativefier is a command-line tool to easily create a desktop app for any web site with minimal configuration. Apps are wrapped by Electron (which uses Chromium under the hood) in an OS executable (.app, .exe, etc) for use on Windows, macOS and Linux.
Nativefier contains a sizeable API that allows you to customise your build with an array of parameters. When adding flags to your build follow the syntax:
nativefier -flag <value> <URL>
Nativefier gives you the power to chain together as many flags as you want, here are a few of my favourite. NOTE: I'm working on a MacOS so functionality may vary from platform to platform.
1) Icons
You cannot have a desktop application without an awesome icon use: -i, --icon <path> with a few rules:
-i, --icon <path>
Notes 📝:
- When packaging for Windows, must be a path to a
.icofile. - When packaging for Linux, must be a path to a
.pngfile. - When packaging for macOS, must be a
.icnsor a.pngfile.
Alternative to macOS users: iConvertIcons can be used to convert .pngs, though it can be quite tiresome.
To retrieve the
.icnsfile from the downloaded file, extract it first and press File > Get Info. Then select the icon in the top left corner of the info window and press⌘-C. Open Preview and press File > New from clipboard and save the.icnsfile. It took me a while to figure out how to do that and question why a.icnsfile was not simply provided in the downloaded archive.
2) Platform
-p, --platform <value>
Default: current operating system.
Can be overwritten by specifying either linux, windows, osx or mas for a Mac App Store specific build. Yes, that's right you can even deploy this application to the App Store!
Note, this also means that you could built a linux application on Mac.

3) Inject Wait a second... if you wan't your desktop application styles to be different to your website. ie. inject a banner saying desktop edition, is this possible? Well... yes!
--inject <value>
Where value can be CSS or JS ie nativefier http://google.com --inject ./some-js-injection.js --inject ./some-css-injection.css ~/Desktop. Remember to use the !important CSS Keyword to override existing rules.
You can find lots more here.
Wrapping Up 🥳
I hope that you enjoyed this article, if you did then please leave a like or comment down below. If you have any questions then also feel free to reach out on LinkedIn. Thanks for reading!